Application Tokens ⭐
This page describes how to use the Application Tokens Plugin that is provided by the Management Center for the Pro Edition of Eclipse Mosquitto (MMC).
Application Tokens Feature can be accessed only by the users with an admin role.
Application Tokens Overview
Application tokens provide an alternative way of accessing MMC that can be used by the other applications and services (non-human MMC users). The entity that receives an application token can include it in its requests to the REST API of the MMC and obtain the same access rights as an authenticated user. The access rights are limited by the role attribute of the token.
Application Tokens are especially useful with the Single Sign-On, since the SSO plugin replaces the standard authentication you won't have a way to access the MMC REST APIs using external services and applications. That's precisely the right use case for Application Tokens Feature.
Enable Application Tokens Plugin
To enable the Application Tokens Feature, ensure you are using the Pro Edition of Mosquitto and that you have the feature enabled in your license. Also ensure that your config file (specified with CEDALO_MC_PROXY_CONFIG environmental variable or by default saved in management-center/config/config.json) contains the following entry inside of the plugins array:
    {
      "name": "application-tokens"
    }
On start-up, the Management Center will print a message that the application-tokens plugin is enabled and laoded into the console:
Loaded plugin: "application_tokens" (Cedalo Application tokens)
What is an application token
An application token is a string of characters that encodes authorization information, which is comprised of the following attributes:
exp- date and time when the token expires (Unix timestamp)role- role (admin, editor, viewer, connectionManager, monitoringViewer) that the token grants to the one using it
Application tokens also hold (encode) additional attributes:
iat- issued at, the date when the application token was issued (unix timestamp)iss- user who requested the application token
{
  "role": "viewer",
  "iat": 1669294549,
  "exp": 1669382280,
  "iss": "cedalo"
}
This string of data is saved as a JWT token which is signed with a secret. The token can only be signed by the party holding the secret (Management Center). In case somebody else tries to change the token information, they will not be able to generate a valid signature. A signature is always verified by the Management Center for every token. Without a valid one the token will be unusable.
Application tokens are never stored on the MMC's backend because they are essentially plain text passwords. It would be a problem if an attacker gained access to the complete database of all tokens. Therefore, Management Center does not store them and requires user to copy the token upon creation and store them in a safe place. Please create tokens with minimum needed permissions for every application that needs the access.
How to use application token
When you have your application token generated (read below if you want to learn how application tokens can be created), you just have to pass it with every request you make to the MMC REST API.
We recommend including the application token inside of the Authorization header with a value of "Bearer <insert your token here>". So, for example:
Authorization: "Bearer eyJhbGciOiJIUzI1NiIsInR5cCI6IkpXVCJ9.eyJyb2xlIjoiYWRtaW4iLCJpYXQiOjE2Njk2NTkxOTYsImV4cCI6MTY3MjM0MDUyMCwiaXNzIjoiY2VkYWxvIn0.swBlZ-3fpNCgIaG5ymfuFJ-Du7g59KHewOIHCMRx1cM"
Another option is to include your application token as a token url query parameter inside of your request url: ?token=<insert your token here>. For example:
https://yourmmcurl.com?token=eyJhbGciOiJIUzI1NiIsInR5cCI6IkpXVCJ9.eyJyb2xlIjoiYWRtaW4iLCJpYXQiOjE2Njk2NTkxOTYsImV4cCI6MTY3MjM0MDUyMCwiaXNzIjoiY2VkYWxvIn0.swBlZ-3fpNCgIaG5ymfuFJ-Du7g59KHewOIHCMRx1cM
Types of responses
When using application tokens, you may receive either a successful response or an error.
A successful response means that your token was accepted and the data you asked for when issuing request was returned back to you. In this case the HTTP status code would be 200, and the response type is application/json. In case your token was successfully accpeted but your query was malformed or some other error when processing your request occurred, you would get a status code in the range of 400-500 inclusive. You can guess what when wrong just by looking at the status code (refer to the HTTP status codes) or reading the body of the response which in case of error will be of type text/* and will simply contain a string explaining the error.
In case the application token was not accepted by the MMC, you will get a 403 status code with a text response body of either Forbidden for endpoints for which your token does not have enough permissions or Token not found or was revoked for cases when your token is invalid or has expired.
Application Tokens View
The application Tokens Feature has a designated view (page, also called application tokens overview) in the MMC GUI. You can access the view by clicking on "App Tokens" menu item:

Application Tokens view features a table that contains information about all the existing application tokens:
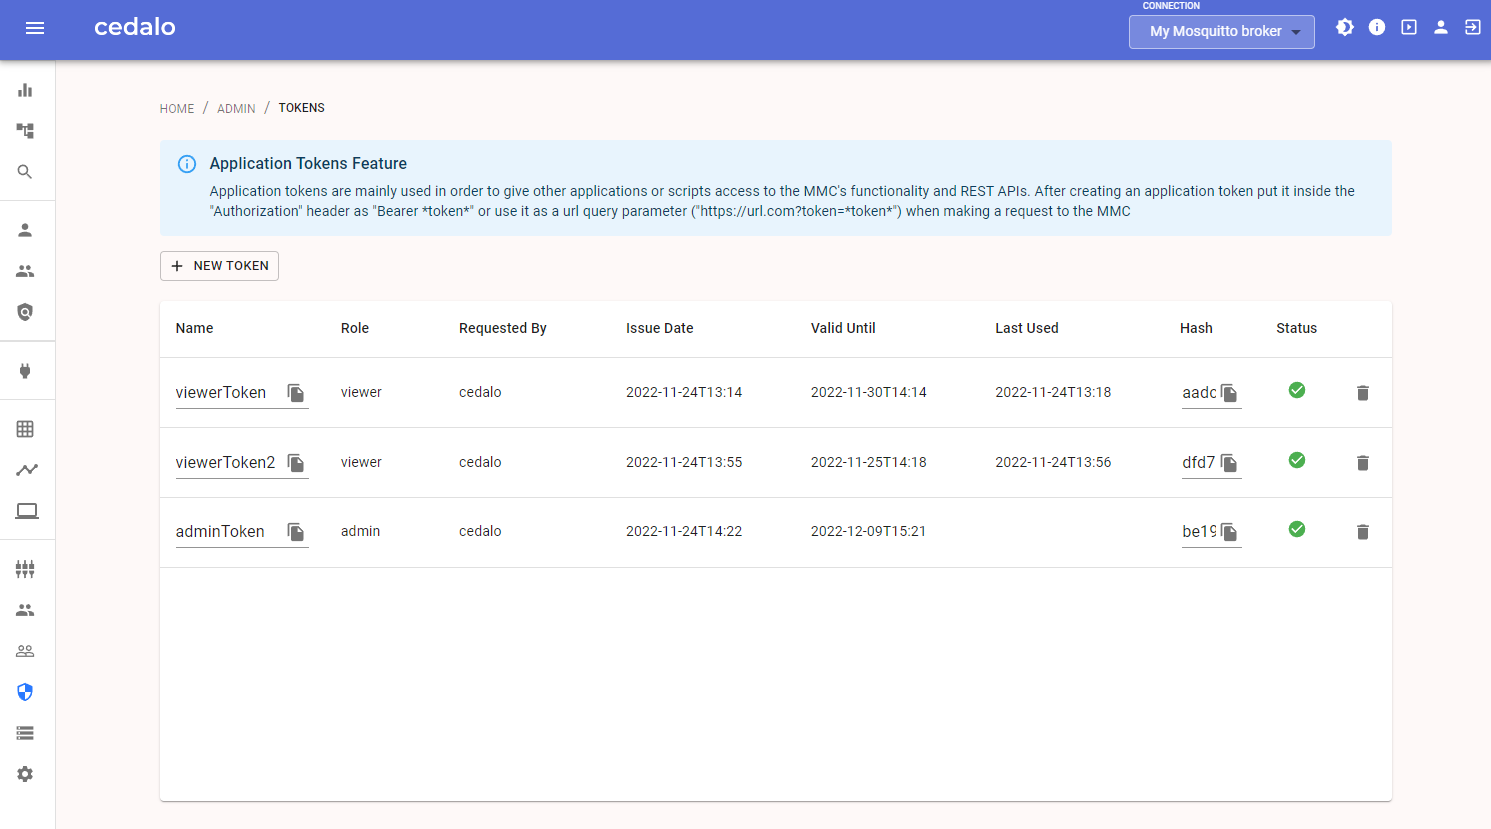
The fields (columns) of this table represent all the information that Management Center stores about an application token, namely:
- Name - name of the token. Must be unique. Used to a human readable identifier to a token (max 30 characters)
- Role - role provided by the token (a role that the one using the token gets)
- Requested by - username of the person who created this token
- Issue Date - datetime when the token was created
- Valid Until - datetime when token expires
- Last Used - datetime when the token was last used
- Hash - hash of the token. Used to identify the token when issuing requests to Application Tokens REST API
- Status - status of the token, e. i. "Valid" or "Invalid"
Create Application Token
To create a new application token, navigate to the Application Tokens view using the right menu bar and click on "New Token" Button in the top left.
After that, the following dialog window opens:
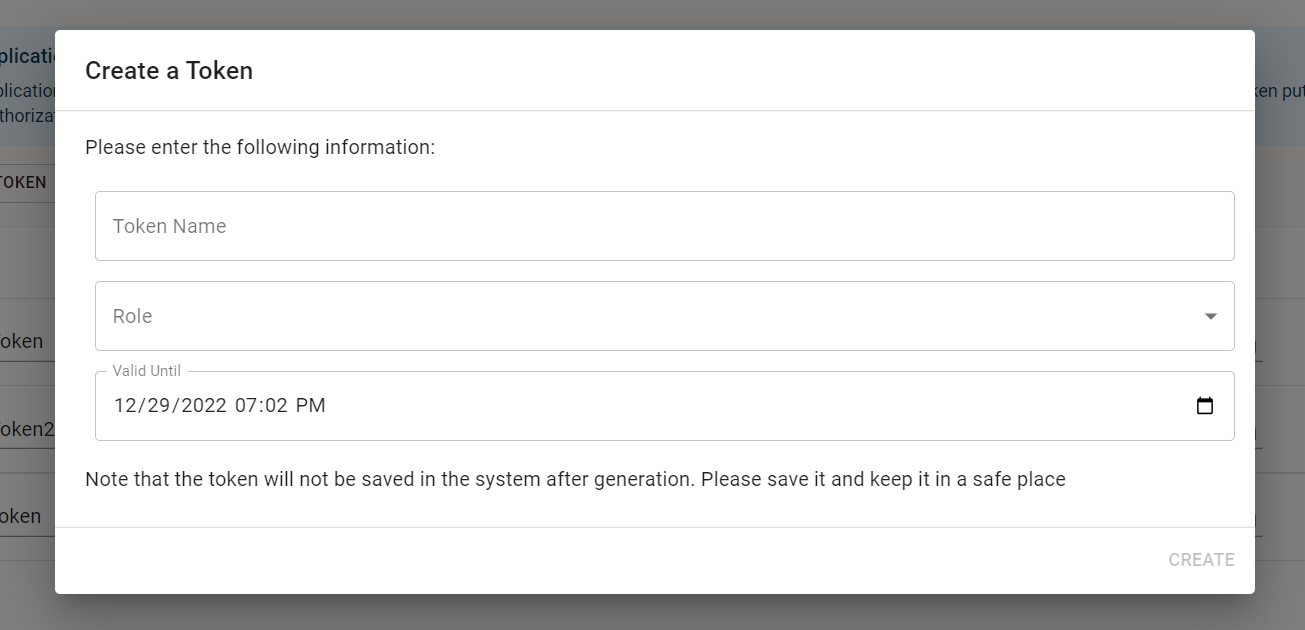
There you can specify the parameters required for the token generation, namely, Token Name (30 characters long at max), Role, and Valid Until. After filling in the form and clicking "Create", the token will be generated and shown:
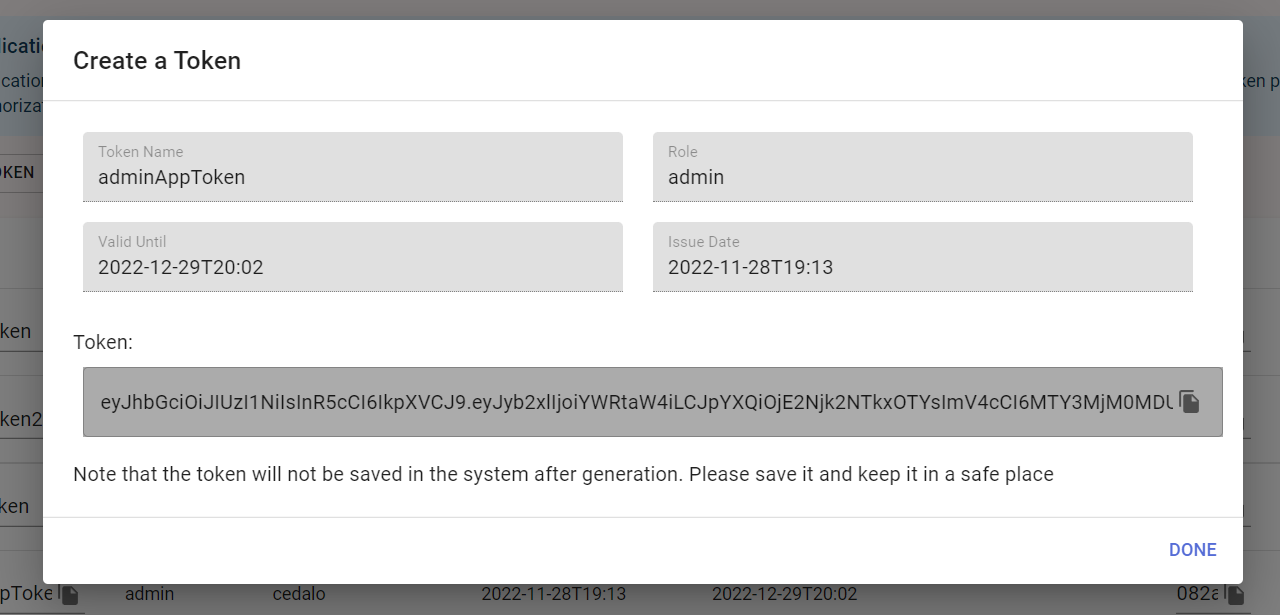
At this stage, please copy the token using the copy button and keep it in a safe place as it will not be stored in the Management Center. You can close the dialog afterwards by clicking anywhere outside of it.
Don't forget to copy the token after creating it, as you will never see it again.
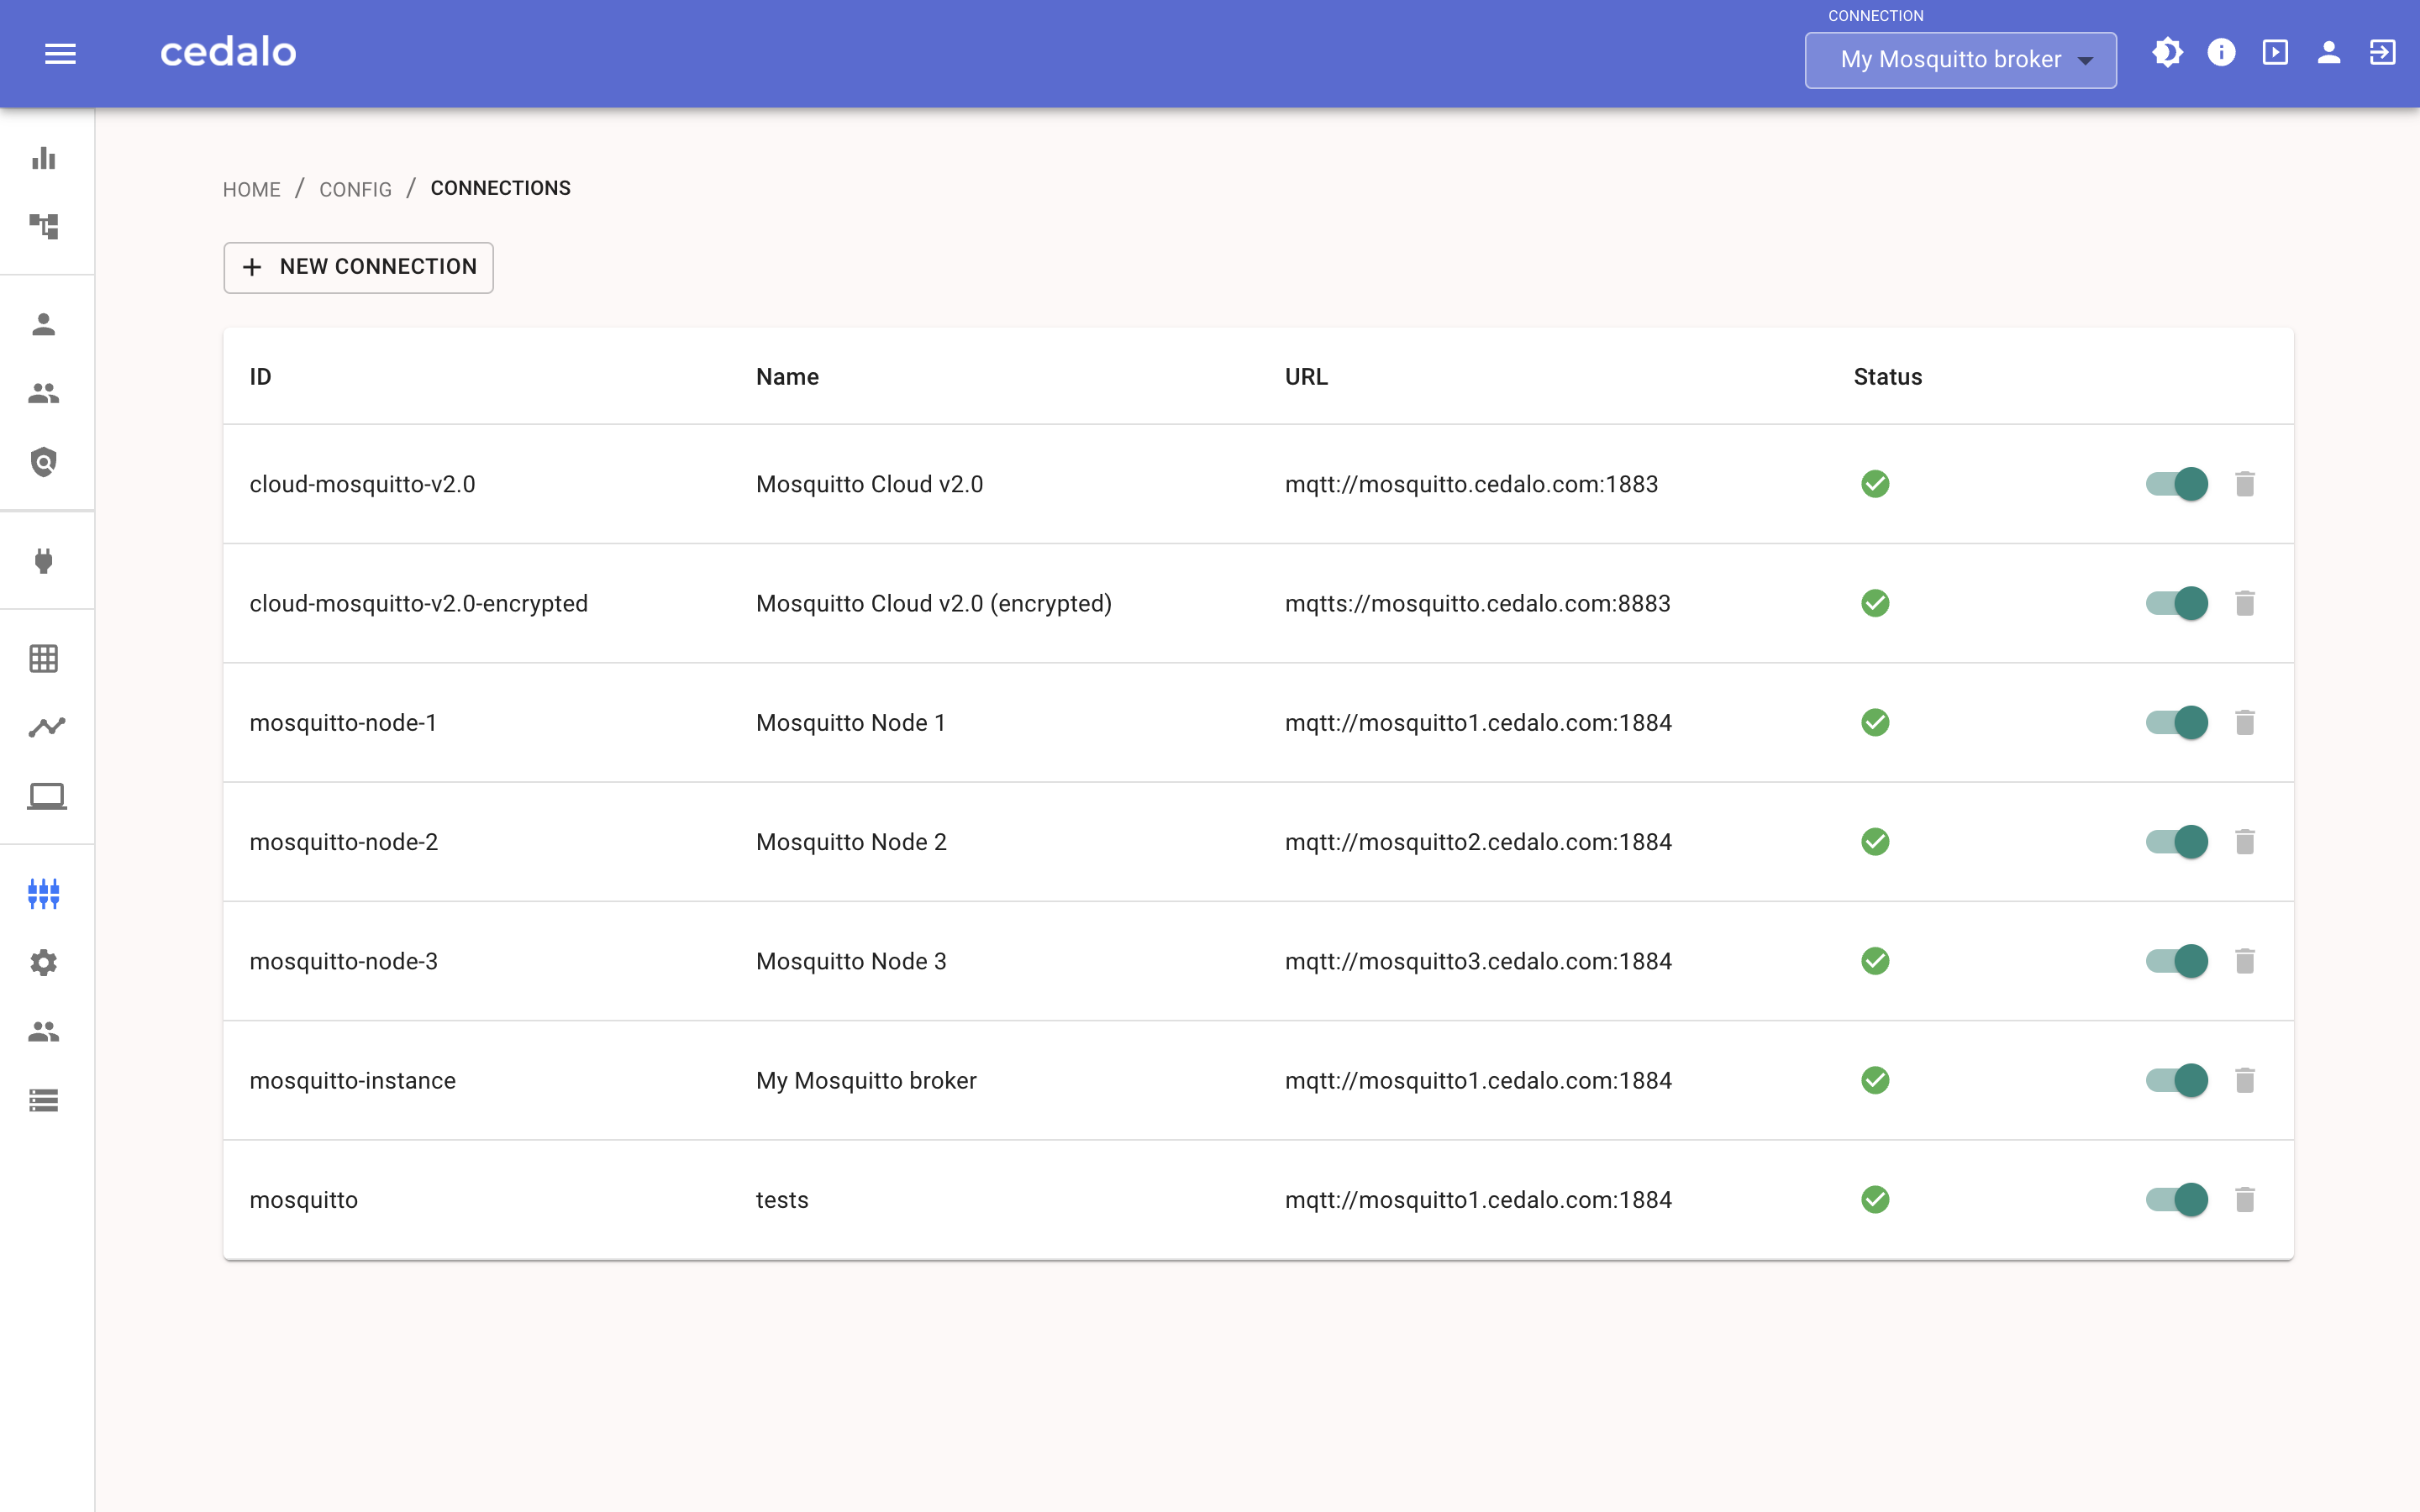
If everything worked correctly, the new connection should appear on the overview page:
Revoke an Application Token
To revoke an application token, navigate to the Application Tokens view using the right menu bar. Find the entry with the token that you want to revoke inside of the presented table and click on the trash bin icon on the right.
Application Tokens REST API
Application Tokens Feature also provides a REST API, which is described on a separate page in this documentation.