On premise Installation Guide Pro Edition for Eclipse Mosquitto
The following is a step-by-step tutorial to guide you through the installation process of Pro Edition for Eclipse Mosquitto Docker. The tutorial assumes you have downloaded the Mosquitto Installer from us and have a valid license to work with.
Install Docker Environment
To run Cedalo products, you need an installed version of docker and docker compose. Docker is not system dependent and can also be installed on Mac or Linux.
Open the following link and install Docker. If you have not installed a version of docker desktop and only installed the docker engine, make sure to further install Docker Compose.

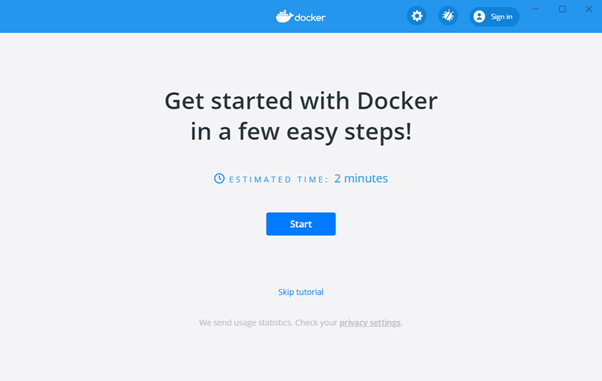
Figure 1 - Docker Desktop Installer
Make sure your system meets the minimum requirements.
● 64 - bit processor with Second Level Address Translation (SLAT)
● 4GB system RAM
● BIOS-level hardware virtualization support must be enabled in the BIOS settings. The status can be
checked in your Task Manger:
If you choose Hyper-V make sure visualization is enabled. If Visualization is not enabled, you will have to turn it on in your BIOS. If you don ́t know how: Here is a very good step-by-step tutorial.
After installing make sure docker is running. On a typical installation the Docker daemon is started by a system utility, not manually by a user. This makes it easier to automatically start Docker when the machine reboots. The command to start Docker depends on your operating system. Check the correct page under Install Docker.
During the installation process, Docker requests from you that you set up an account with Docker. You need that account mainly for the setup/install process of Docker, but later you will be provided by Cedalo with a separate account to access the Cedalo registry.
Log into the Cedalo registry
To get your local premium subscription running you need to use the docker login we provided. You will not be able to pull the right images with your personal docker account.
After the docker installation you can use docker login to log into docker. (https://docs.docker.com/engine/reference/commandline/login/)
To login open your shell (e.g., cmd.exe under Windows) and enter following command:
docker login registry.cedalo.com -u [username provided by us] -p [password provided by us]
You should receive a message that the login succeeded, otherwise please let us know under getting.started@cedalo.com
If you are using Docker Desktop, logging in via the UI is not possible. Please use the command line login.
Start the Pro Edition for Eclipse Mosquitto Setup
Download the shared setup via the given link we provided you in the e-mail. Enter your Mosquitto and Management Center premium license in ../management-center/config, named "license.lic". The name of the file must be “license.lic”.
To install Pro Edition for Eclipse Mosquitto and the Management Center, make sure to navigate into the folder named after your operating system. Use a terminal to open that folder. The setup may simply be started using:
Linux/Mac:
./start.sh up -d
Windows:
.\start.bat up -d
To access the logs use the follwoing command in the root folder:
docker-compose logs
The installation will create a docker environment for Pro Edition for Eclipse Mosquitto, consisting of two containers: one for Mosquitto and another for the Management Center.
By default, the test setup will only be reachable on localhost as the MQTT Port 1883 (from the HAProxy) and the MMC HTTP Port 8088 will only be bound to localhost. If you need the setup to be reachable from the outside please adapt the port rules in the docker-compose.yml file accordingly.
In-between Docker Desktop can warn you about file-sharing. File-sharing is intended by Cedalo. The Docker container would otherwise not be able to access certain files from the platform configuration that are stored in a regular Windows folder. Make sure to allow this access.
First steps Management Center
Open the Management Center via: http://localhost:8088/
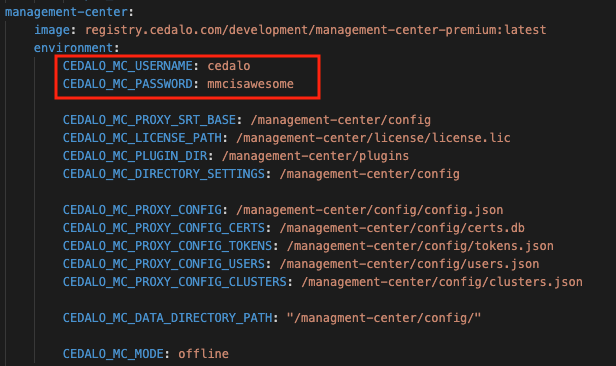
The root credentials are the following and can be changed in the docker-compose.yml file.
username: cedalo
Password: mmcisawesome
Further users can be configured in the Management Center (User Management Menu).

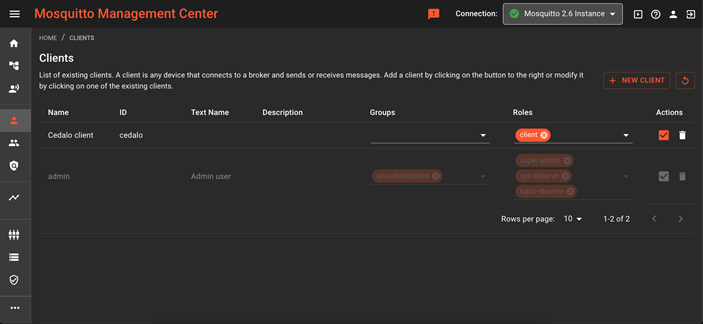
To access Mosquitto create a new client in the Management Center and assign a client role. If you want, choose the client role “client”, to assign full rights to publish and subscribe.
Connect to your Mosquitto instance via localhost:1883.
Configuration
The configuration of the entire setup is managed through multiple files. Here are the details of each file:
- docker-compose.yml: This file controls various settings related to the docker environment. It manages configurations such as port mappings and environment variables.

Additionally, there are other configuration files:
mosquitto.conf: This file is located in the
\mosquitto\configdirectory. It contains specific configurations for the Mosquitto component.config.json: This file is located in the
\management-center\configdirectory. It contains configurations specific to the Management Center component.
These files play a crucial role in customizing and fine-tuning the settings of the entire system.
Logs
Docker Compose logs provide valuable information about the status and behavior of containers running in a Docker Compose environment.
To access Docker Compose logs for a Mosquitto MQTT Broker service, follow these steps:
Open a terminal or command prompt.
Navigate to the directory containing your
docker-compose.ymlfile.Run the following command:
docker-compose logsFor all logs.
docker-compose logs <service_name>Replace
<service_name>with the actual name of your service as defined in yourdocker-compose.ymlfile to only access a specific service.
Mosquitto supports multiple log level to provide different levels of details for logs. To change the log level for the Mosquitto, update the mosquitto.conf file.
Set the log_type to "all" to get access to the full log. Restart Mosquitto to apply changes.
```conf
log_type all
```