User Groups
As part of the User Management, the User Groups allow grouping users and define group access management. In addition, Groups allow to define, which connections can be accessed by group members. Using these restrictions, you can limit users to only the functionality they need ensuring higher levels of security, knowing that users as part of a group will not be able to see or touch anything they are not supposed to.
User Groups can only be accessed by users with an admin role. Please be aware that User Group Management is part of the Premium License and has to be enabled. For more infos check Enable User Groups section below.
User groups allow their members to access only the connections specified in selected groups. Moreover, groups override user roles for the specified connections. For example, add a user with a viewer role to the admin user group that contains connection A. This user will only have access to connection A, and the role with which they can access this connection will be admin, not viewer.
If you create a user group and will add member to it but no connections, then no restrictions will be applied to those users until you add the first connection to that group. Before that, while the group has no connection, group members can access all the connections inside the Management Center.
A user can be added to more than one group. In this case, if some of the connections in two or more groups are the same, a user will get the highest permissions among those overlapping connections
If you assign a viewer role to the user group, this role will be applied only to the connections specified in the group. This means that group members will only have viewer permissions: they will only be able to access the systopic and the topic tree. The same holds for monitoringViewer and connectionManager.
Editor role will have the same access as a viewer user plus access to dynamic security for the specified connections.
Admin role will have access to the same functionality as viewer and editor plus the streams, and it will be able to edit and connect/disconnect the specified connections.
User Groups Overview
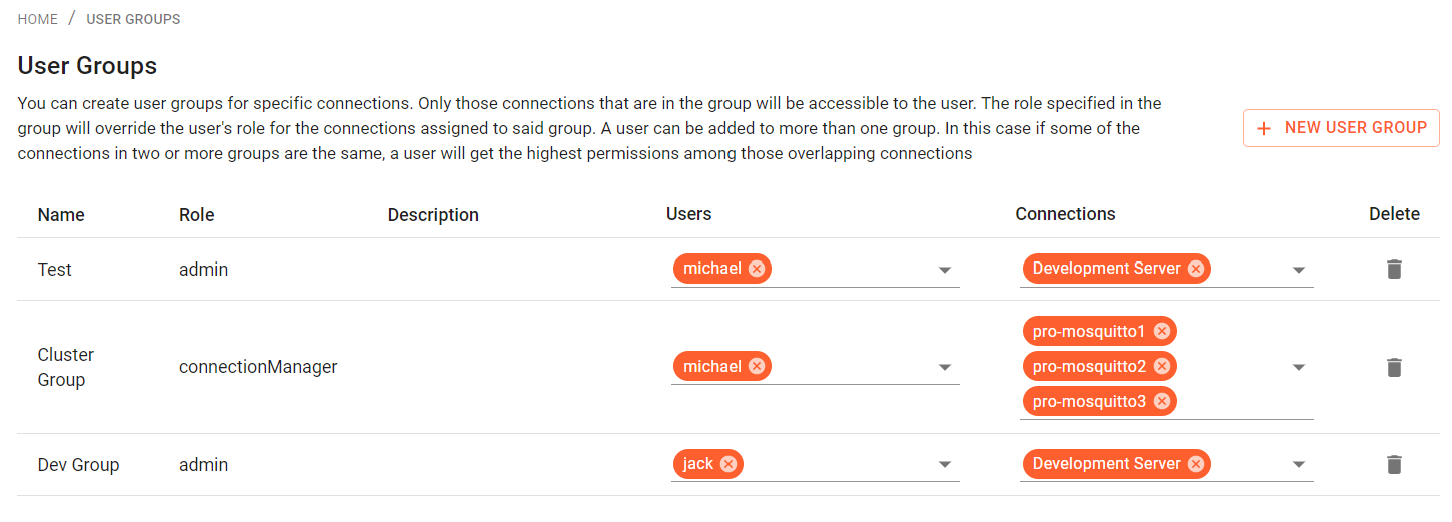
The User Groups view shows a table that contains information about all the existing user groups:

The table has the following fields:
- Name - Name of the user group. Must be unique
- Role - Role that the group grants to its members
- Description - Description of the group
- Users - List of all members of the group
- Connections - List of the connections available to the members of the groups. An empty list does not enforce any restrictions
- Delete - Delete the group from the list of groups.
Create a User Group
To create a new user group on the "New User Group" Button at the top left.
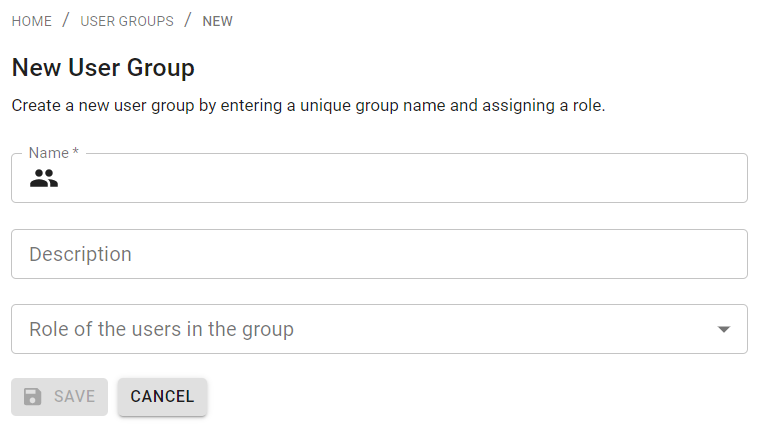
After that, you will be redirected to the user group creation page:

There you can specify the parameters required for the user group creation:
Group Name (30 characters long at max) Role Role to select from options list. Description Additional description for the group.
After entering all the required parameters and clicking "Save", the group will be created, and you will be redirected to the user groups overview page.
Here you can locate the user group you have just created and add users and/or connections to it by using the dropdown menu in the respective fields.
Edit a User Group
In order to change the list of user group members or connections that those members can access, you simply need to
locate the group of interest on the User Groups Overview page and click on the cross icon near the members or
connections you want to delete. If you want to add any, just click on the dropdown menus for the Users
and Connections fields and find the ones you want to add.
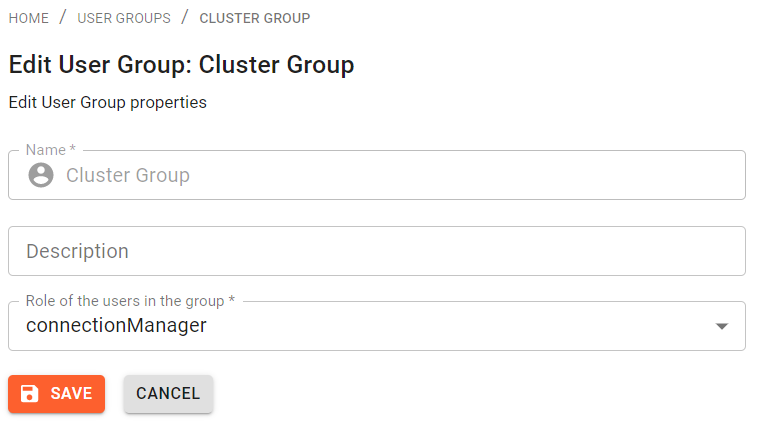
If you want to change the role of the group or groups description, you can just click on the user group entry in the
overview table and then click "Edit":

The name of the user group cannot be changed. To change it, you will need to completely delete this user group and create a new one with a new name
Delete a User Group
To delete a user group click on the trash bin icon on the right of the user group entry on the overview page. After that click on "Ok" to confirm the removal of the specified group.
User groups in user profile
You can navigate to user profile page to see all the user groups for a currently logged-in user:
Enable User Groups
User Groups Feature is part of the User Management Plugin, so to enable it you should make sure you are using the Pro
Edition of Mosquitto and that you have the User Management feature enabled in your license. Also, ensure that your
config file (specified with CEDALO_MC_PROXY_CONFIG environmental variable or by default saved
in management-center/config/config.json) contains the following entry inside the plugins array:
    {
  "name": "user-management"
}
On start-up, the Management Center will print a message that the user-management plugin is enabled and loaded into the
console:
Loaded plugin: "cedalo_user_management" (Cedalo User Management)