Creating and Managing Projects
After logging in you are guided to the projects overview. Here are your existing projects listed, plus those that you were invited to as a member.
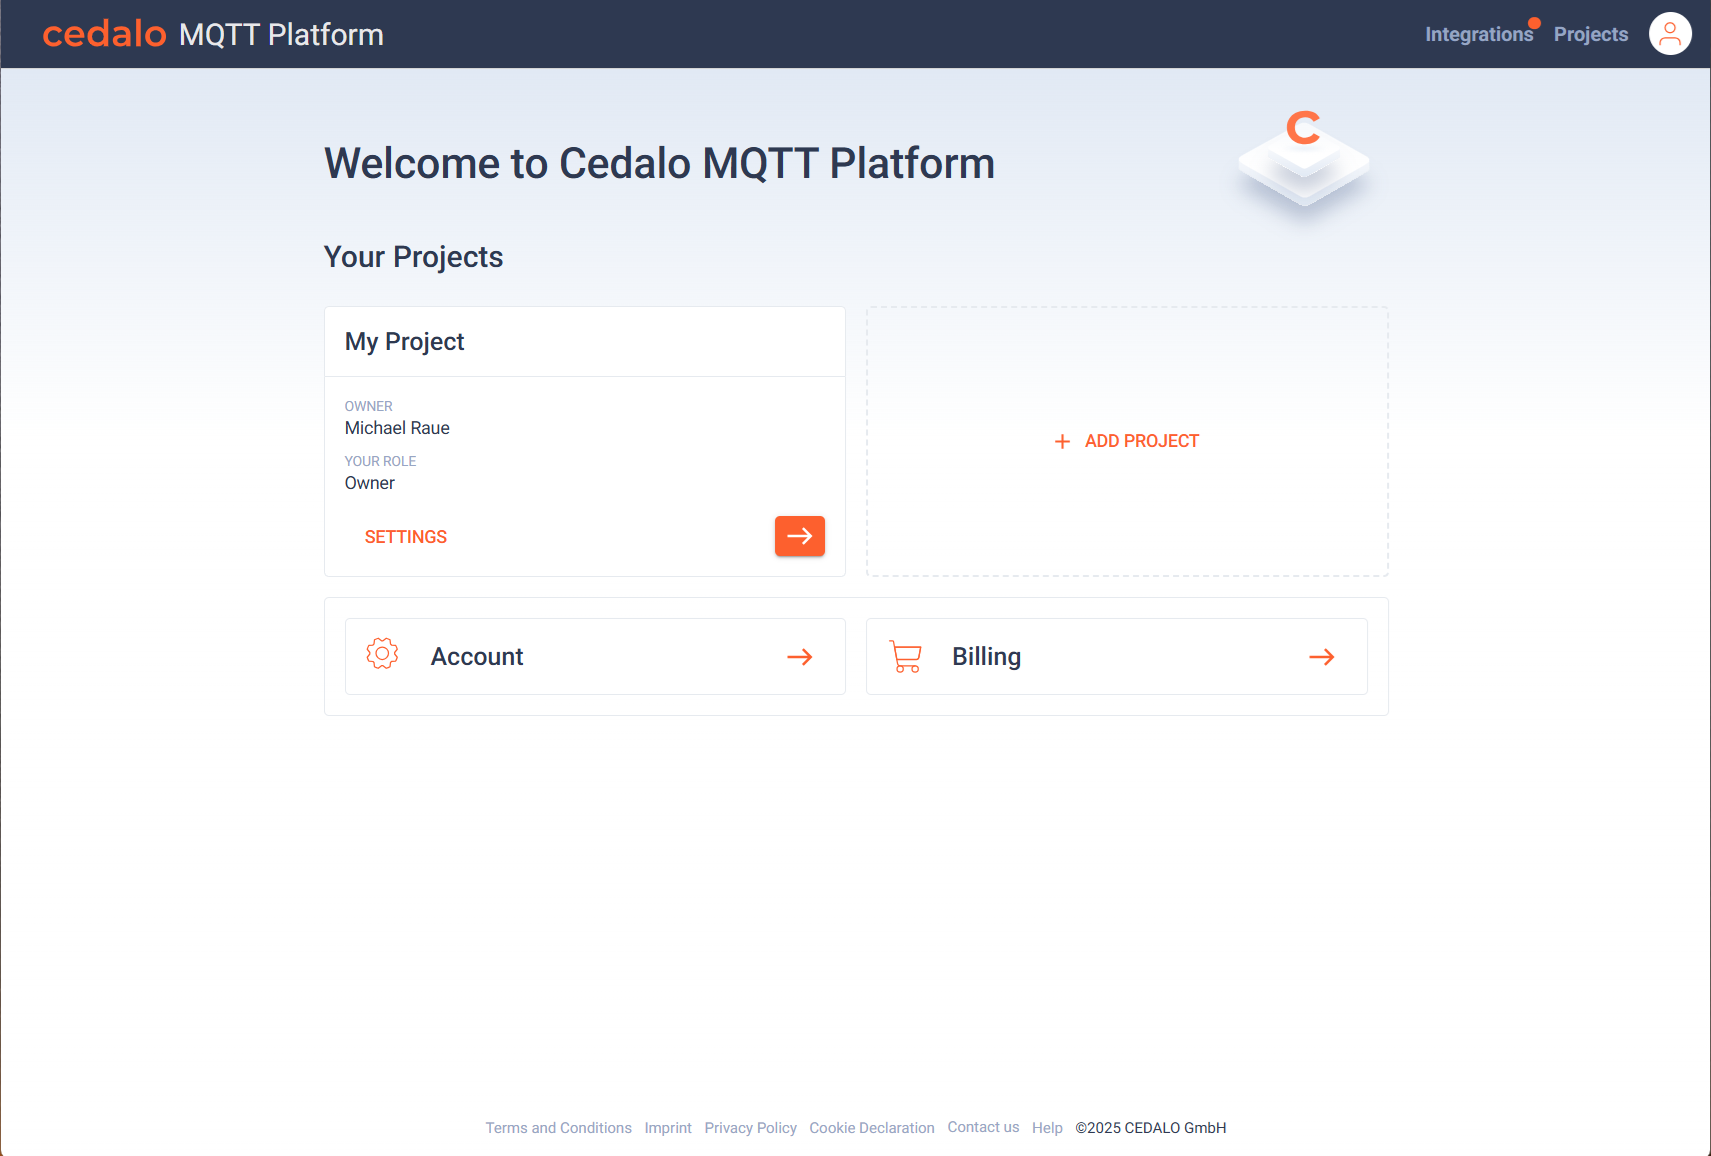
You can also jump to the project settings and billing below the current project listing. When you click on a project on the arrow button, the broker overview of the project is opened, listing the available brokers of the project.
Create a project
To create a new project, click on the "Add Project" button in the project overview. You need to enter a name for the project:
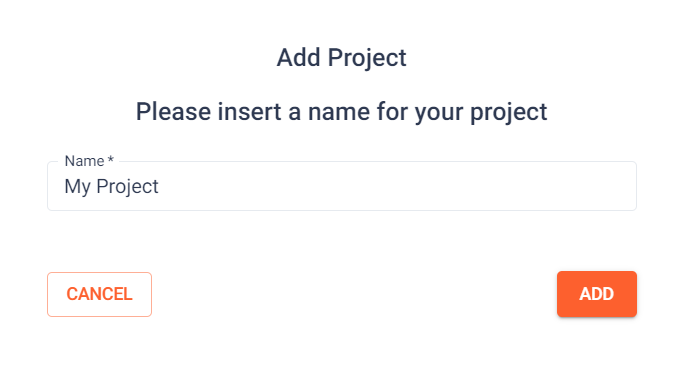
After confirming the name, the project will be created and listed in the project overview.
Modify and delete a project
To define general project settings or delete a project, navigate to Project Settings and select the General Menu.