API Tokens
An API Token is used to authenticate when using the REST API. Tokens can be created for a project or for a broker. If it is created for use in a project, all or if desired a selection of brokers within the project can be managed or administered. In addition, all project related APIs need an API Token created on project level.
Creating and managing project level API Tokens is done within the project settings. Navigate to the settings of the project and select Tokens. Broker API Tokens can be created, after selecting the broker and navigating within the broker navigation to Tokens.
Both variants are managed similar. The following section describe the project level tokens. The main difference is that Project Level API Tokens allow to select or deselect brokers to include.
Token Overview
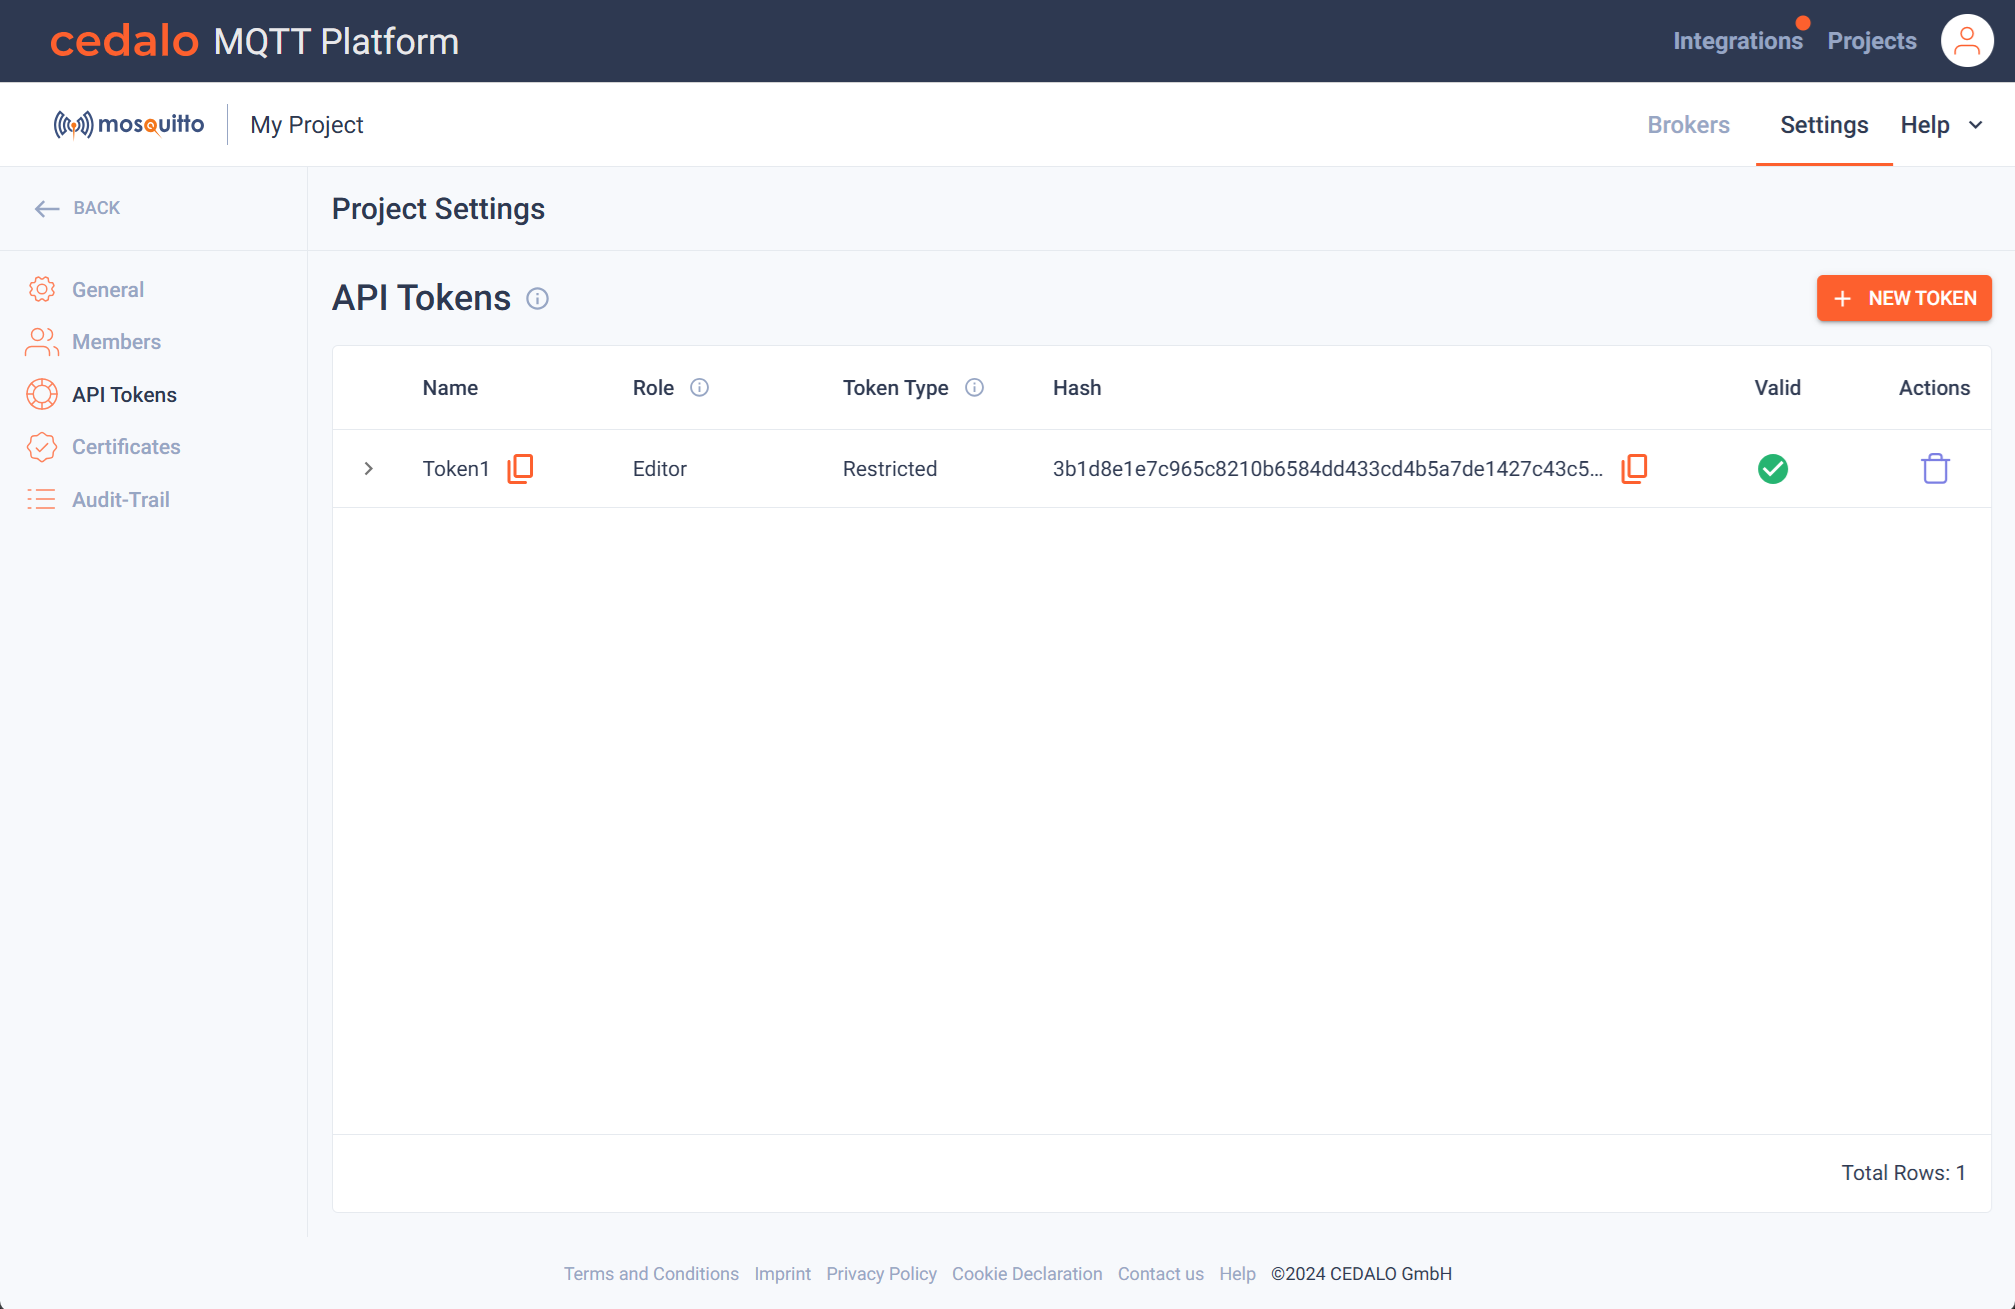
After navigating, you will see a list of the created tokens showing their primary settings like name, role, type and the hash:

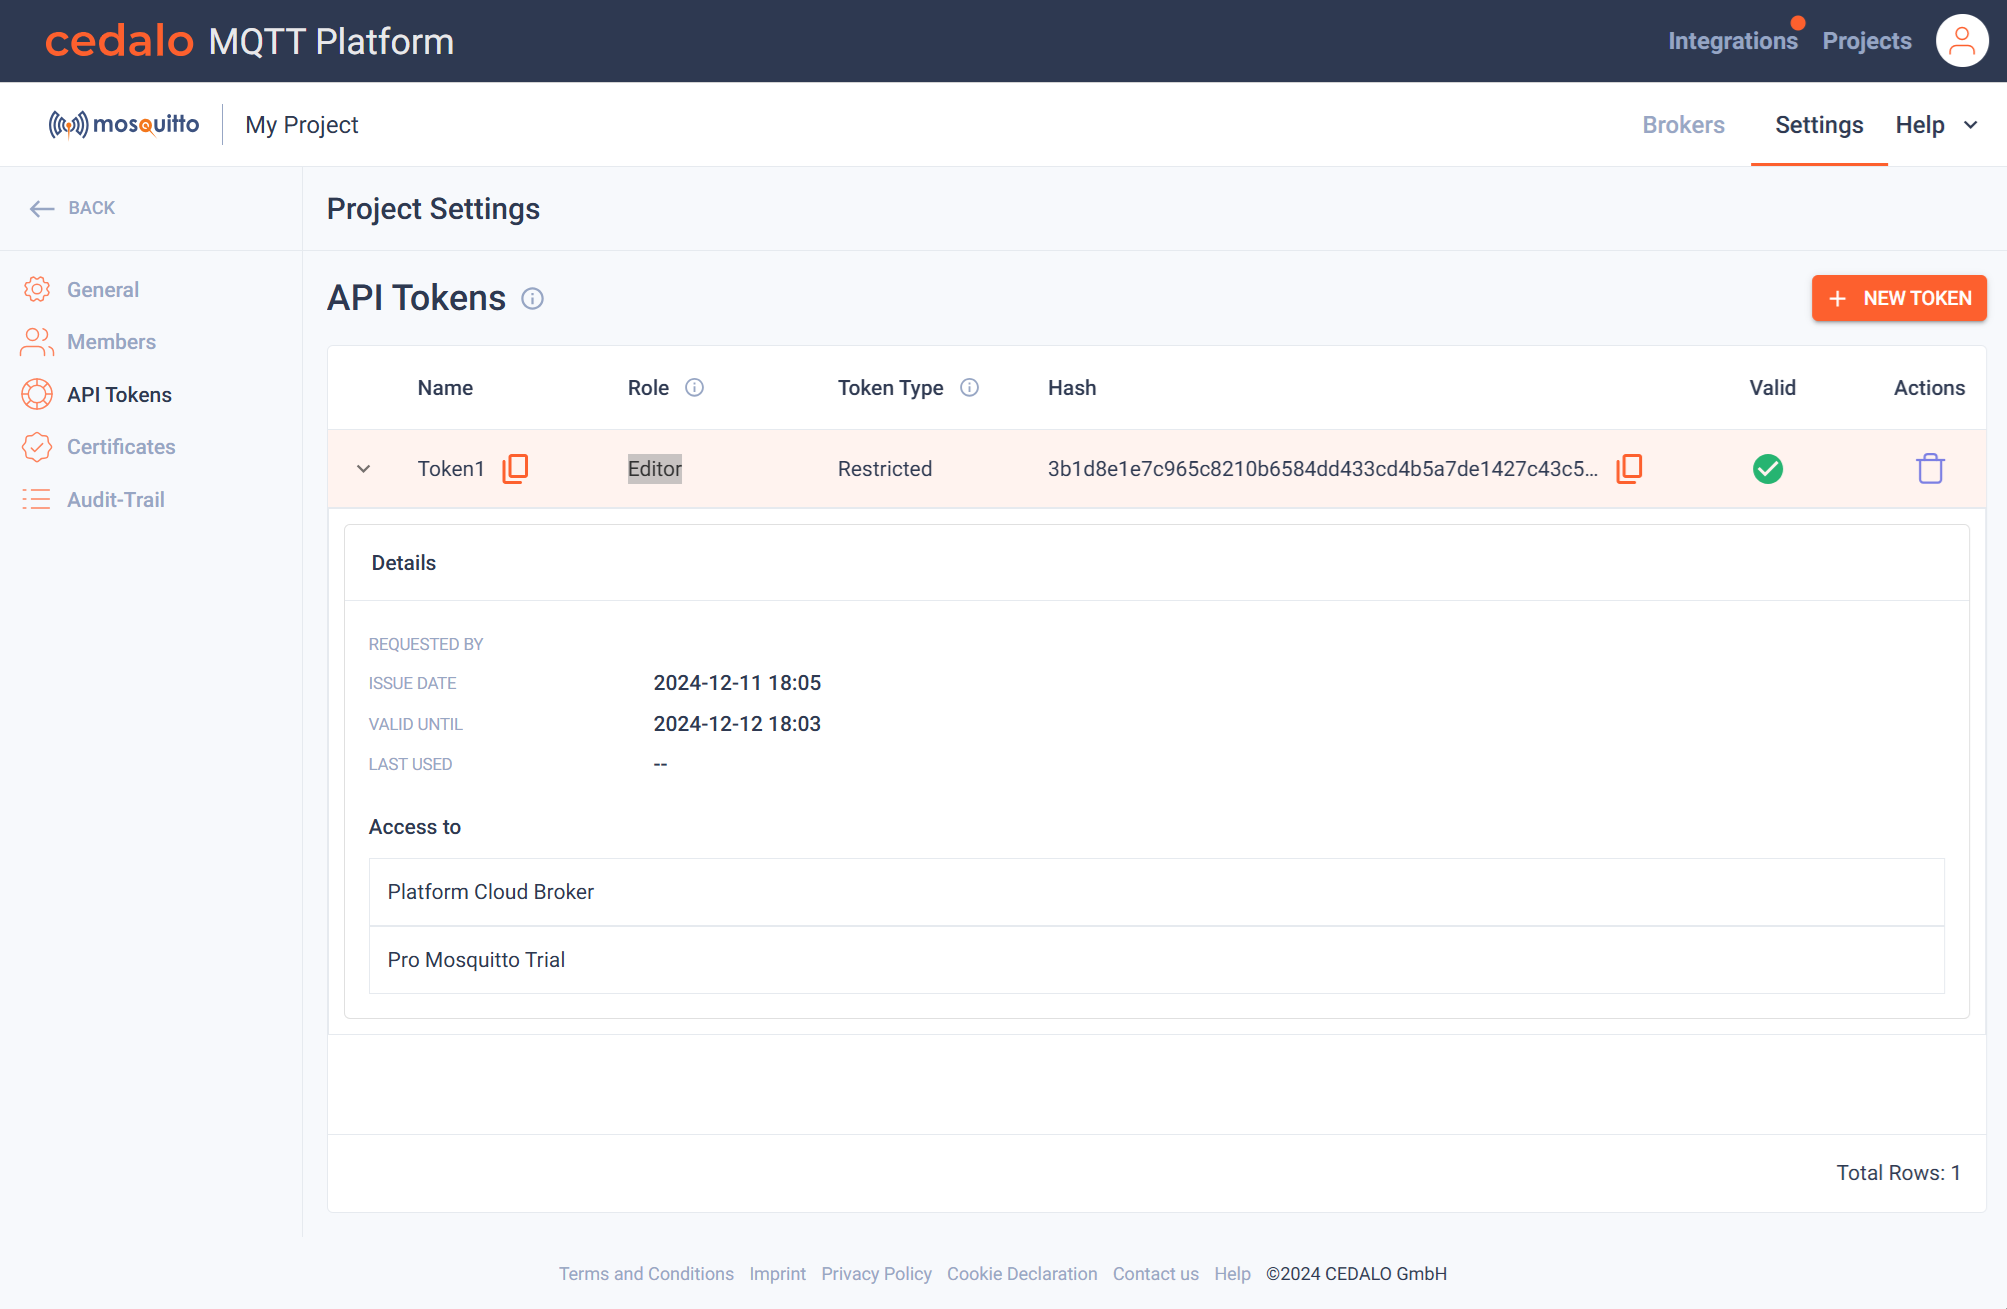
Clicking on the arrow to the left of the token, you can view additional infos like issue date, and when the token will expire. If it is a project level token, and you have restricted broker access, the list of allowed brokers is shown.

Create a token
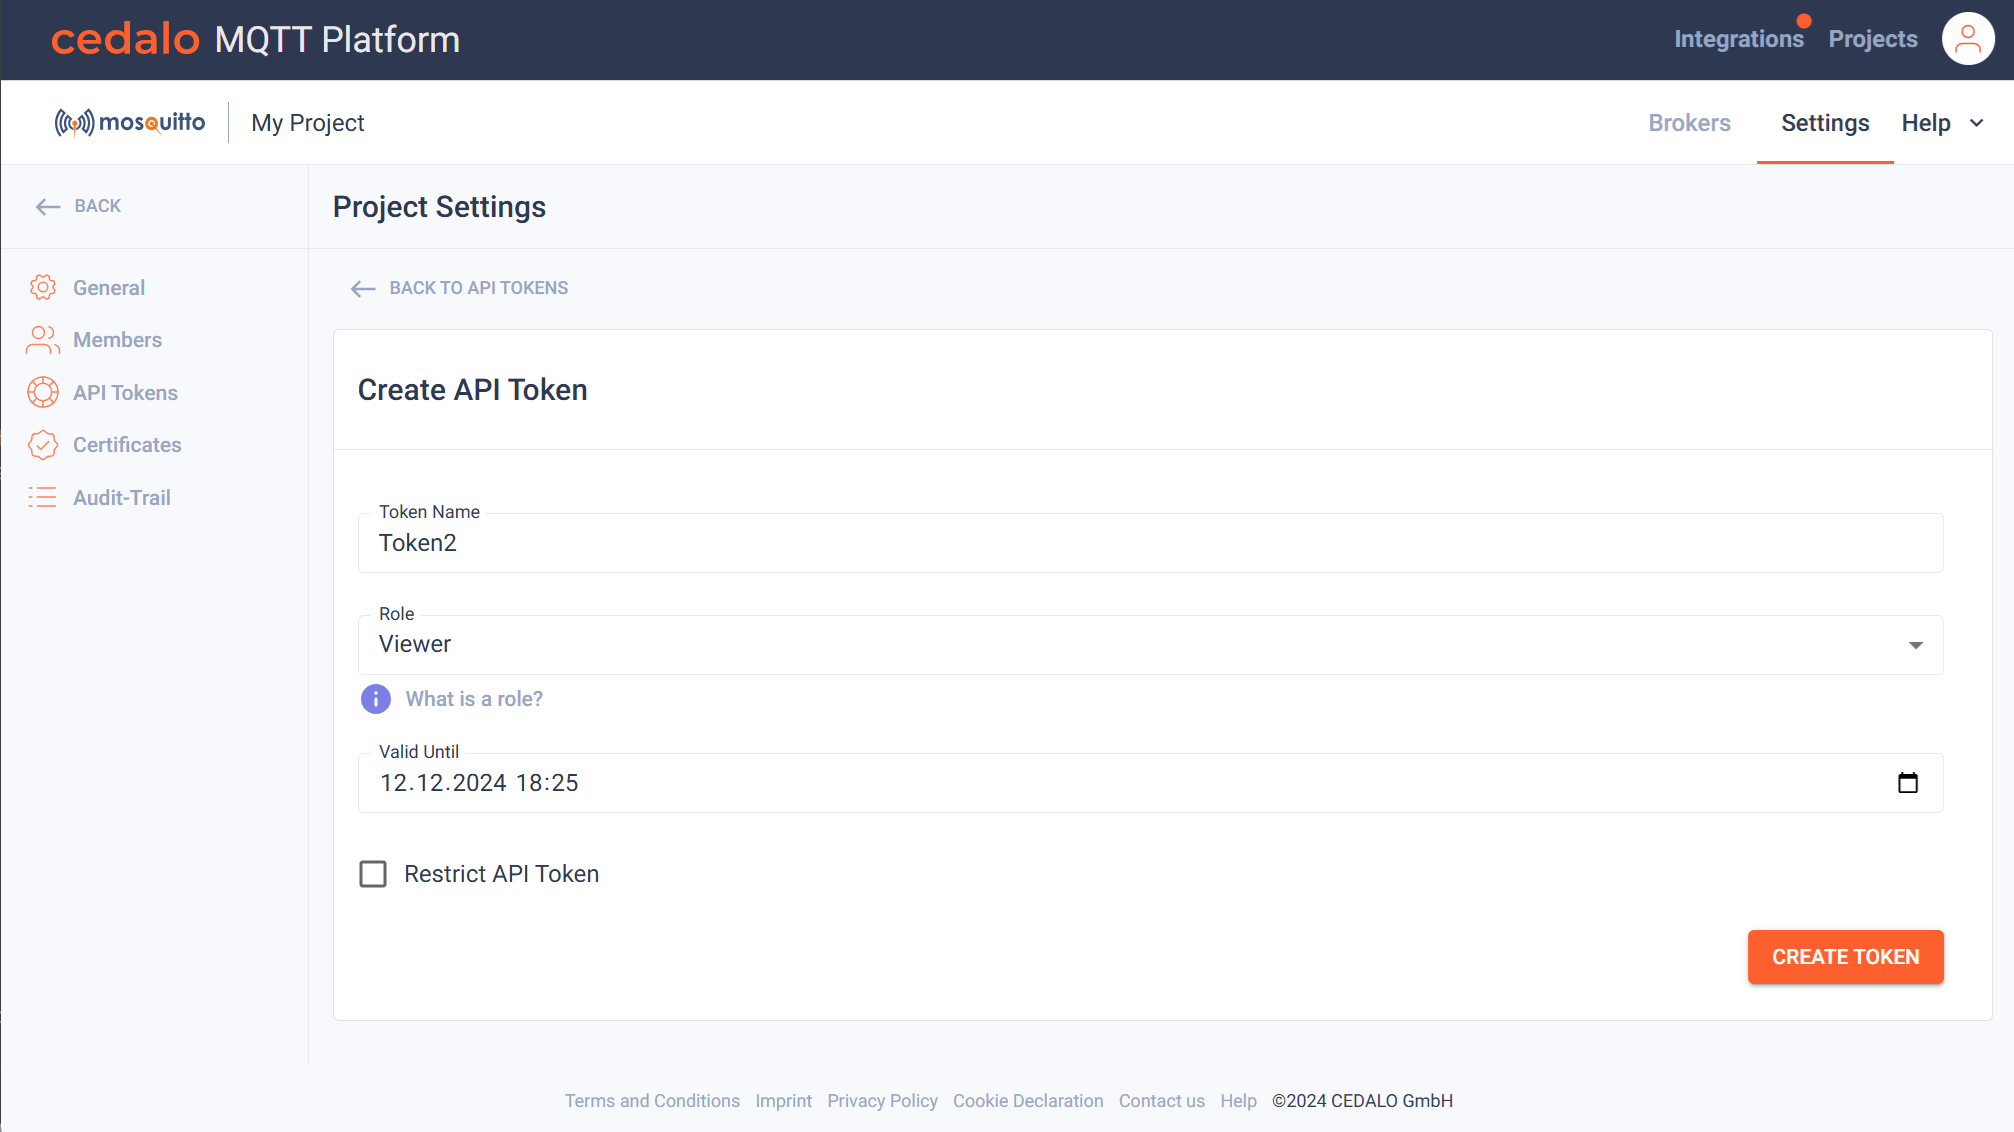
To create a new token, click on the "New Token" button on the top right section of the page. A new page is shown, that allows you to enter a name for the token, select a role and the date, when the token shall expire:

There are three different roles available:
- Viewer: You can only request data from the project or brokers. You can not change anything.
- Editor: In addition to viewer rights, you can edit existing configurations.
- Admin: In addition to editor rights, you can add or delete items from an existing configuration. This option is not available, if the token is restricted.
If you are on project level, you can choose to restrict the token. If the checkbox is not selected, all brokers will be accessible using the token. If you select it, you can select the brokers to access from the dropdown list (Allowed Brokers).
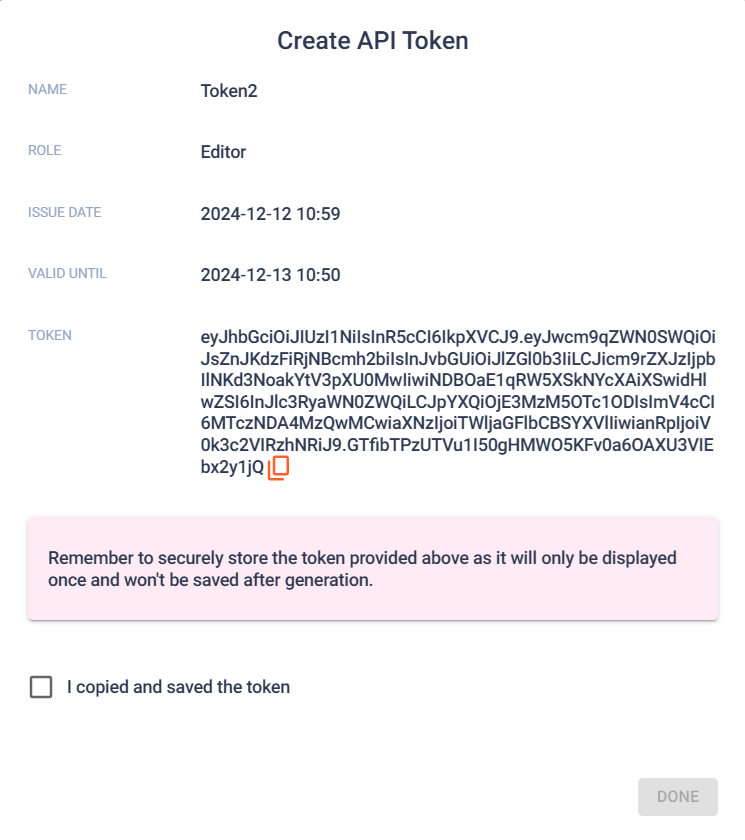
After confirming the token settings by clicking on "Create Token", the following dialog is displayed:

Here token is displayed. You can copy the token to use within REST API calls. This token is only displayed once and is not saved. So this is the only chance to save the token for later use. Please be aware, that the token shall be saved in a secure place to prevent misuse. To leave this dialog, you have to confirm this information.
After confirming the token will be added to the Token Overview List.
Deleting a token
You can use the delete action button to remove the token. You have to confirm the deletion of token.